Introduction
Welcome to our comprehensive guide on brewing coffee with a percolator! Percolator coffee offers a unique and nostalgic way to brew your morning cup, and we’re excited to help you perfect your technique. In this guide, we’ll cover everything you need to know about brewing with both stovetop and electric percolators, tips and tricks for perfecting your coffee, maintenance, troubleshooting, and even exploring different variations and flavors.
Understanding Percolators: Vintage Brewing at Its Finest
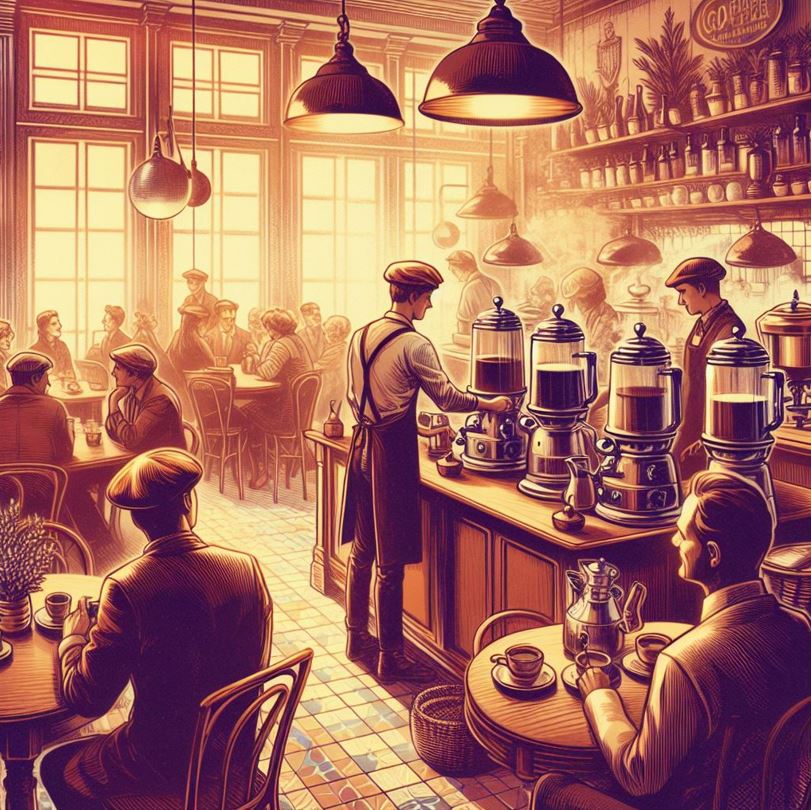
Percolators have been around for over a century and were the go-to brewing method before drip coffee makers became popular. These vintage brewing devices have a unique charm that cannot be replicated with modern brewing methods. The percolator works by using heat to force boiling water through a chamber and into a basket of coffee grounds, which then drips back down into the boiling water, creating a cycle that continues until the desired strength is achieved.
Percolators were particularly popular in the 1960s and 70s, as they offered a convenient way to brew large quantities of coffee for gatherings and events. Despite losing some of their popularity to drip coffee makers, percolators still hold a special place in the hearts of coffee enthusiasts.
A Look at Vintage Percolators
Many antique percolators were made from materials like copper, brass, and enamel. These materials not only give the percolator a unique look but also aid in heat retention and distribution. The first percolators were stove-top models, which were made to be used on a gas stove or an open flame. Later, electric models were introduced, which further simplified the brewing process and provided more precise temperature control. Despite being replaced by drip coffee makers, percolators are still a popular choice among coffee connoisseurs who appreciate the unique brewing process and taste that percolators offer.
Brewing with Stovetop Percolators
Stovetop percolators are a popular choice for brewing coffee, especially for those who enjoy the authentic vintage experience. These brewing devices typically come in two parts: the lower section holds the water, and the upper section is where the coffee is brewed. Here’s a step-by-step guide on brewing coffee with a stovetop percolator:
- Initial Setup:
- Start by setting up the percolator and ensuring that all its components are clean and in good condition.
- Fill the lower section of the percolator with cold, fresh water. Avoid using hot water, as it can result in over-extracted coffee.
- Water Heating Process:
- The percolation process starts with heating the water in the bottom chamber.
- As the water heats up, steam rises into the tube in the center of the percolator.
- Rising to the Coffee Grounds:
- The steam condenses and falls back onto the coffee grounds in the upper section.
- This extracts the flavorful oils and compounds from the coffee.
- Circulation and Percolation:
- The water continues to circulate through the coffee grounds, creating a rich and robust brew.
- The percolator keeps reheating the coffee, resulting in a stronger flavor compared to drip coffee.
- Completion of Brewing Process:
- Once the desired strength is achieved, remove the percolator from the heat source.
- Serve your freshly brewed percolator coffee and enjoy the nostalgic experience!
Conclusion
Whether you’re a coffee aficionado or simply curious about vintage brewing methods, experimenting with a percolator can be a delightful journey. Remember to adjust your grind size, coffee-to-water ratio, and brewing time to find your perfect cup.
Purchase All Your Commercial Kitchen Equipment From The FED (Foodservice Equipment Depot)
Explore our diverse selection of high-quality commercial kitchen equipment for all your culinary needs. Enjoy a seamless online ordering experience, ensuring fast and frictionless access to professional-grade food service equipment. Shop at our Restaurant Supply Online Store.
For more insightful articles and tips, visit The FED Blogs.


